
Klaytn has been working on features to improve the usability for both fledgling and advanced developers alike, like the Klaytn-Online-Toolkit. Built by the Klaytn Dev Team using Klaytn SDK(caver-js), the toolkit allows you to try different features of Klaytn. Seasoned devs will be able to refer to the open-source code on GitHub, and beginners can try out Klaytn’s features without having to code. More awesome features are on the way, so feel free to check them out.
To help more people use the toolkit, the Klaytn DevRel Team has prepared the “Using Klaytn Online Toolkit” series. In this first article, we will look at Multisig.
We will walk you through the process of creating your account using Klaytn-Online-Toolkit, updating the key to multisig key, and transferring KLAY using that multisig account. If you want to know more about the multisig feature, please refer to this article.
Prerequisites for multisig update
- You need an account to update. In this article, we will refer to this account as Sender. You can create a new account as shown below and download it. Sender must posess KLAY in order to pay the transaction fee. After the account update transaction is processed, the Sender account will continue to be used, just with a different private key.
- You need private keys for the update. Create the private keys as shown in number 1, and download the keystore. Make sure to take good note of your password.
- To update the account, you need to set the weight and threshold. Each key has a weight, and the sum of all the weights of the keys used for signing the transaction must be greater than the threshold. For example, if the three keys (k1, k2, k3) have a weight of 1, and the threshold of the account is 2, you would have to sign with at least two keys to make the transaction a valid one.
Create account and download keystore: link
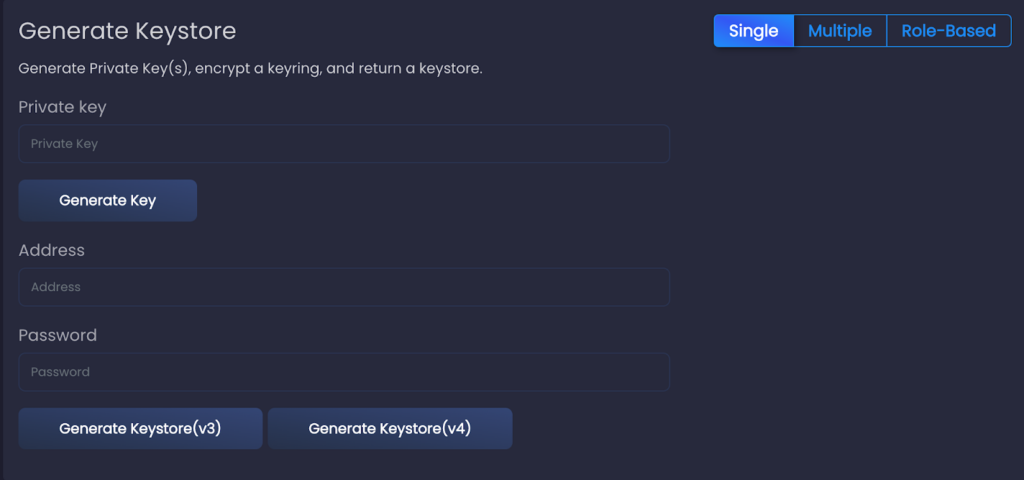
1. Out of the three keyring (address and private key) types Single / Multiple / Role-Based, make sure Single is selected. SingleKeyring, as the name suggests, is for using one key to sign the transaction and Multiple Keyring for multiple keys. Role-based Keyring is for signatures based on different roles. More details can be found in Klaytn Docs. In this article, we are creating SingleKeyring, which we will be updated to a multisig account.
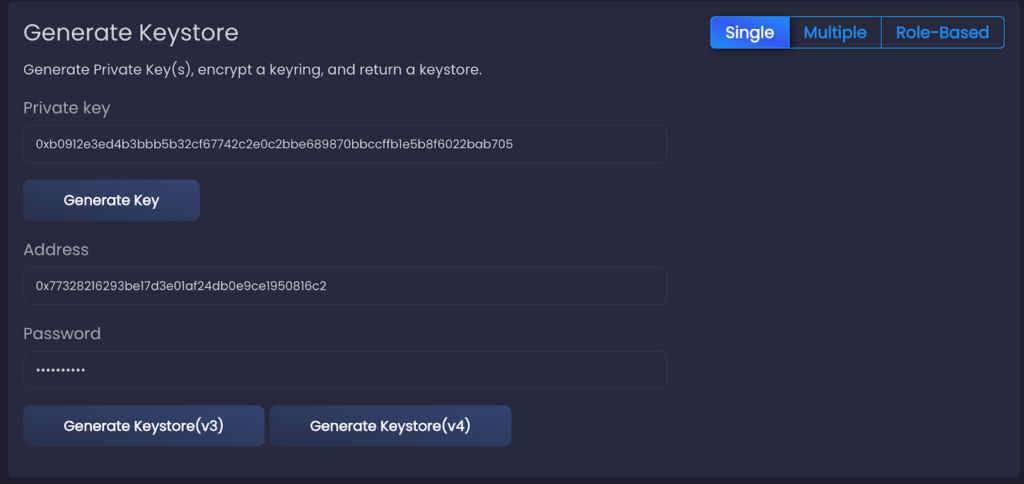
2. Click Generate Key. Private Key and address will be created. The address here is derived from the private – public key pair.
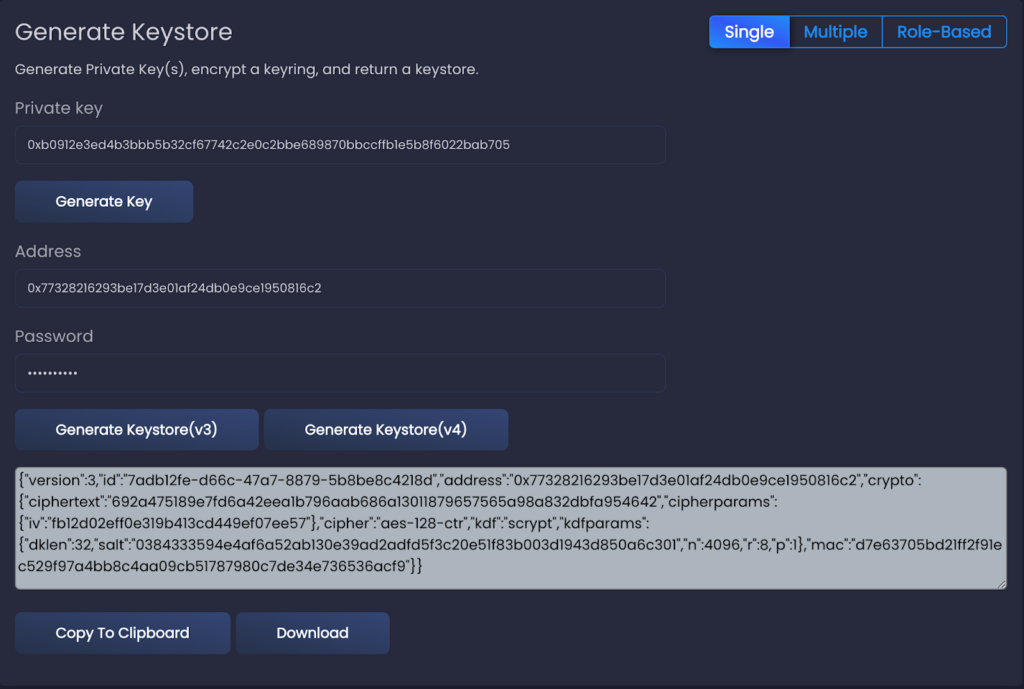
3. Depending on the Keystore format you want to create, select either Generate Keystore(v3), Generate Keystore(v4). You will see the below text. Click “Download” and the file will be saved in this format: “keystore-{address}-{year}-{month}-{day}.json”.
4. If you want to create a new account, select “Single” keystore again and repeat the process.
Updating account to multisig: link
This page includes three parts: Upload Sender Keystore File, Upload Keystore File for Private Keys, and Update Account. In the first part, we will upload Sender’s keystore to sign the transaction. In the second part, we will upload the private keys that will be used for multisig. Lastly, we will set weights and threshold to send the account update transaction.
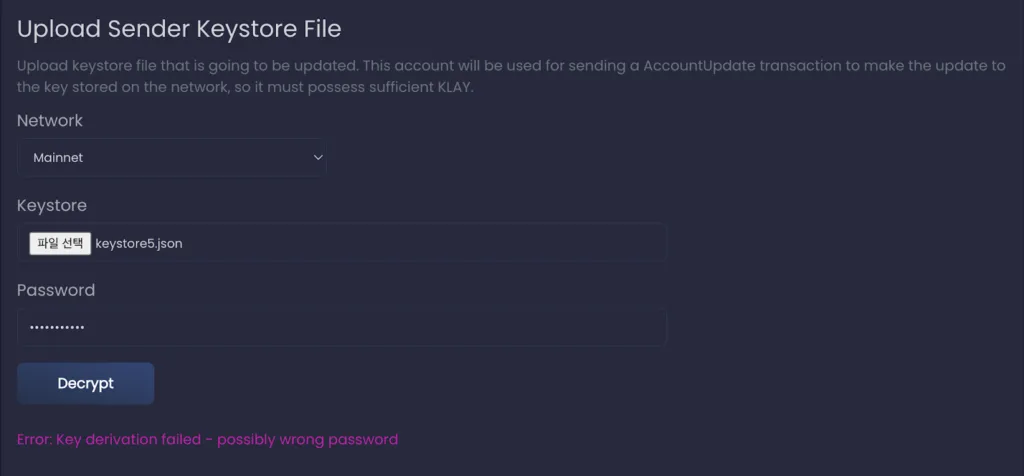
1. First, let’s go to the Upload Sender Keystore File. Select either Mainnet or Testnet.


2. Upload the Sender’s keystore file. Enter the password of that keystore and click on “Decrypt”. If the Password is entered correctly, you will see Decryption succeeds!, and if not, Error: Key derivation failed.

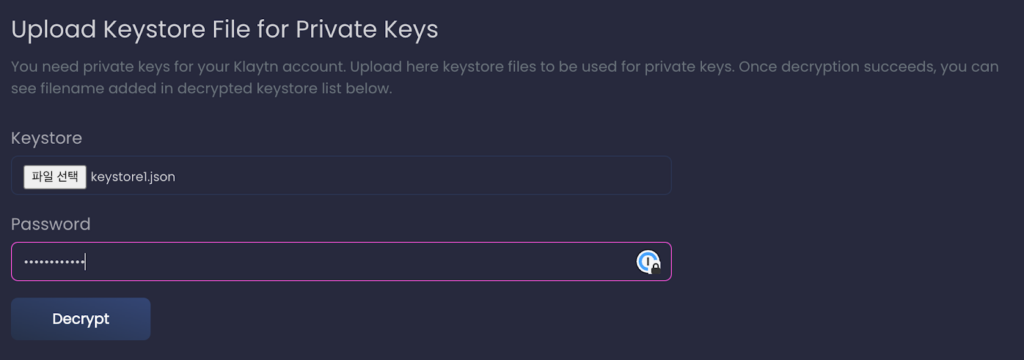
3. Now let’s move on to [Upload Keystore File for Private Keys], We will register the private keys to be used for updating. Upload the private key’s keystore files, enter the password, and click on Decrypt. Just as in the second step, you will see the message Decryption succeeds! when successful, and Error: Key derivation failed when not. You can upload multiple times depending on the number of private keys.
4. After uploading the Keystores one by one, you will see the files being added under “Decrypted Keystore List” in the Update Account section. These private keys will be used to update the Sender account.

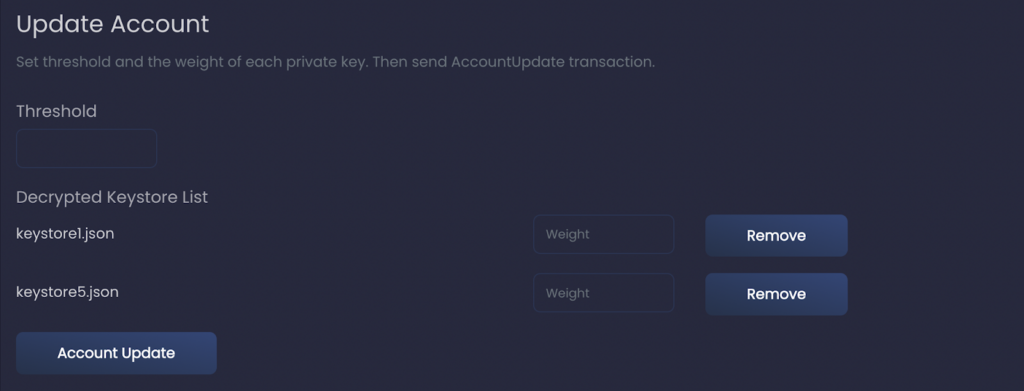
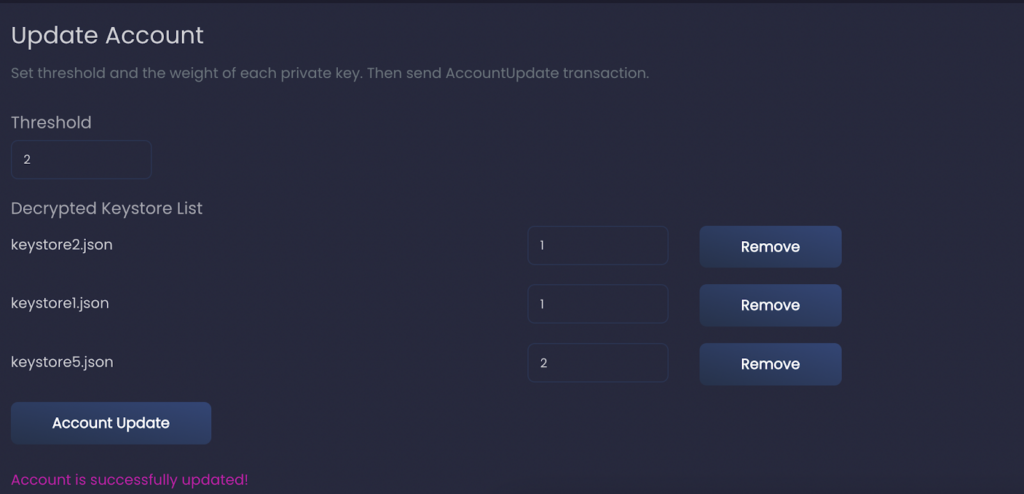
5. After we are done uploading the keystore files, let’s go to the Update Account section. We need to set the weight and threshold. Once you are done, click on “Account Update”. A transaction for updating your account will be transferred, and the Account Update button will remain deactivated until the transaction is completely processed. If the transaction is processed successfully, you will see the message Account is successfully updated!, and if you fail, you will get an error message.
6. Using the Sender’s address you can confirm the transactions on KlaytnFinder or Klaytnscope.
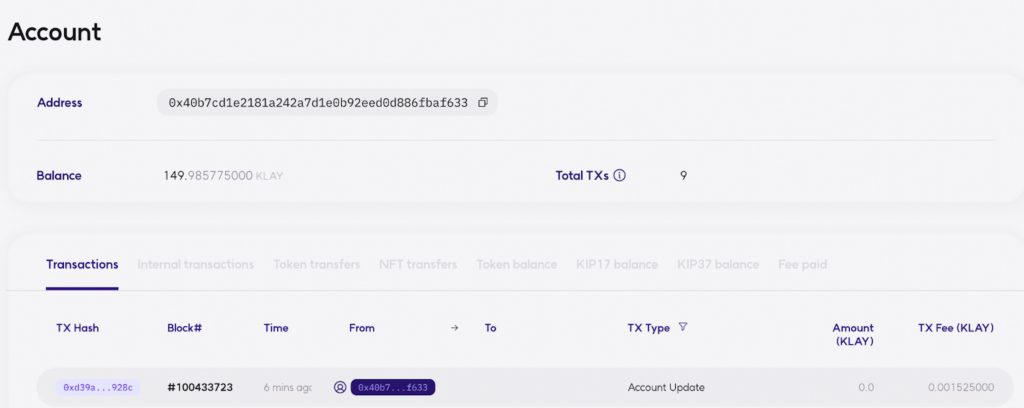
<Transaction on KlaytnFinder>
Sending KLAY using multisig : link
Now that we have updated our account to multisig keys, we will use them to send KLAY. If the account is successfully updated, the transaction will succeed only if the weights of the private keys exceed the threshold. We can now test if the account has been updated correctly.
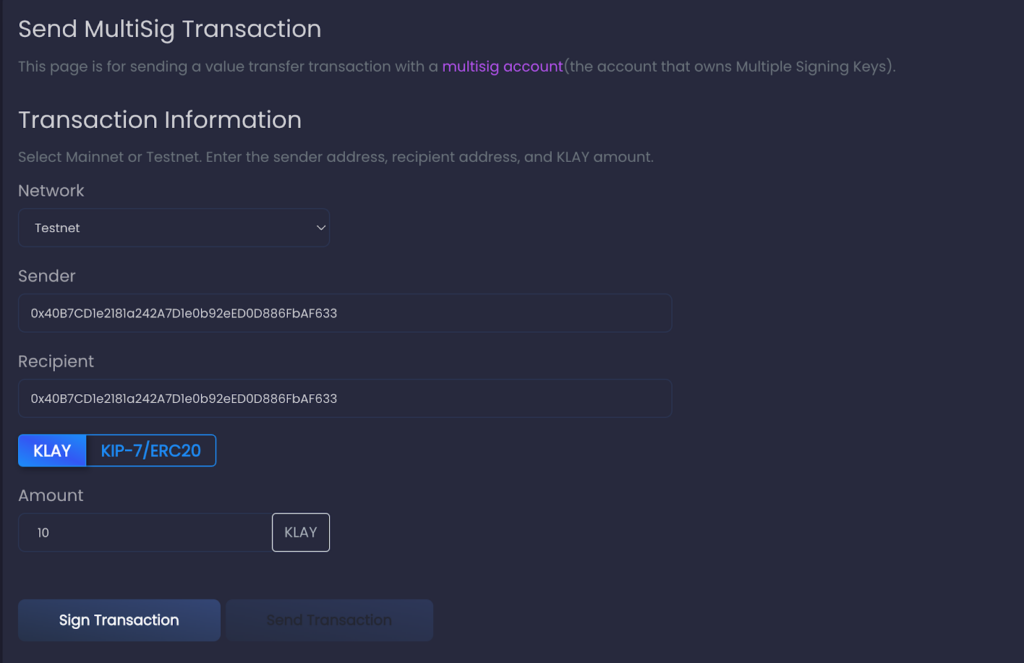
This page consists of three parts: Transaction Information, Upload Keystore FIle, and Decrypted Keystore List.
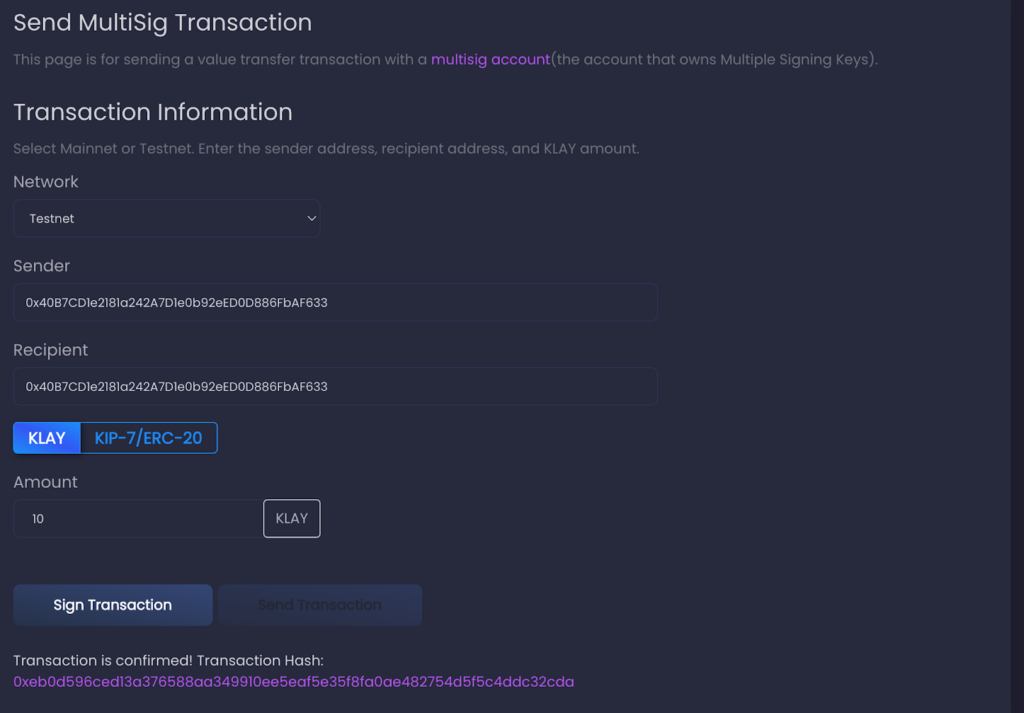
1. First, in the Transaction Information part, select the network you want to use between Mainnet, Testnet. Select either KLAY, or KIP-7/ERC-20 to send. For the latter, you also have to provide the contract address (token address). In this example, we will send KLAY. Enter theSender and recipient’s address and the amount of KLAY to send.
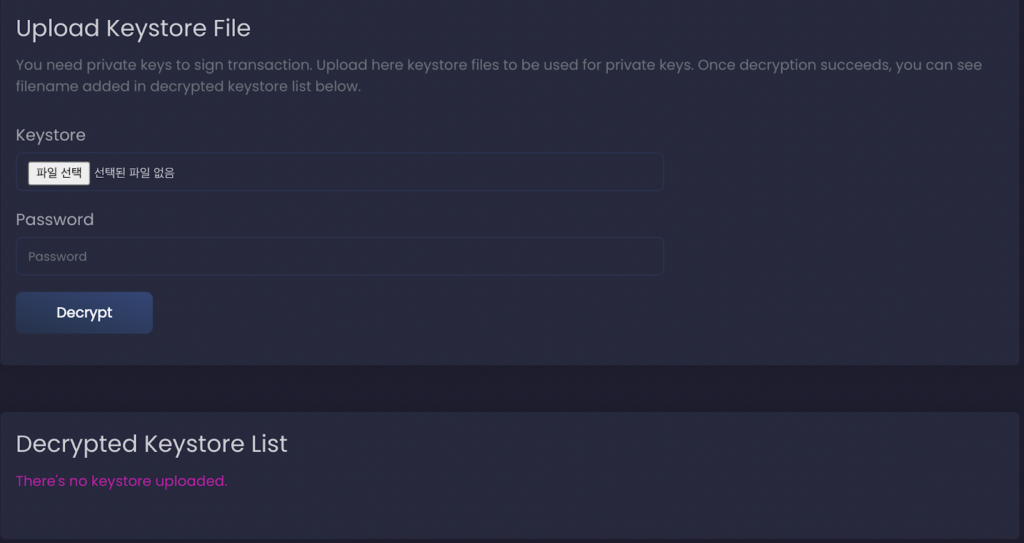
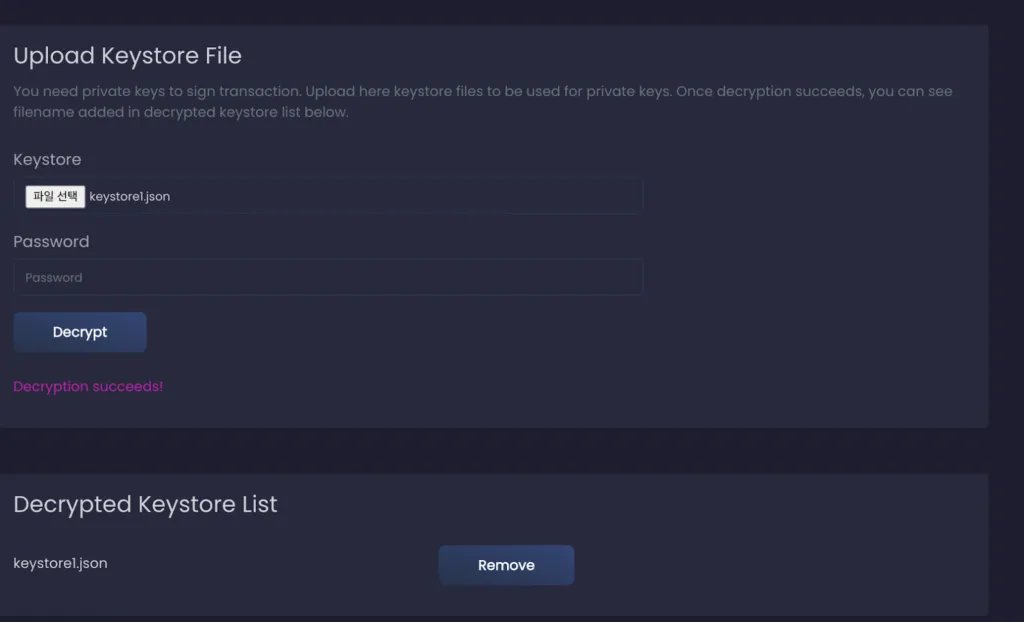
2. In the Upload Keystore File section, upload the keystore files of the private keys that will be used to sign the KLAY transfer transaction. Upload the Keystore file, enter the Password, click on “Decrypt”. You will see the keystore file appear under “Decrypted Keystore List”. You can remove the uploaded files, or upload as many files you need to sign the transaction.
3. Once all the keys have been uploaded, let’s go back to the “Transaction Information” section and click on Sign Transaction. If the transaction has been signed successfully, you will see the message, Transaction is signed!, along with the transaction hash.
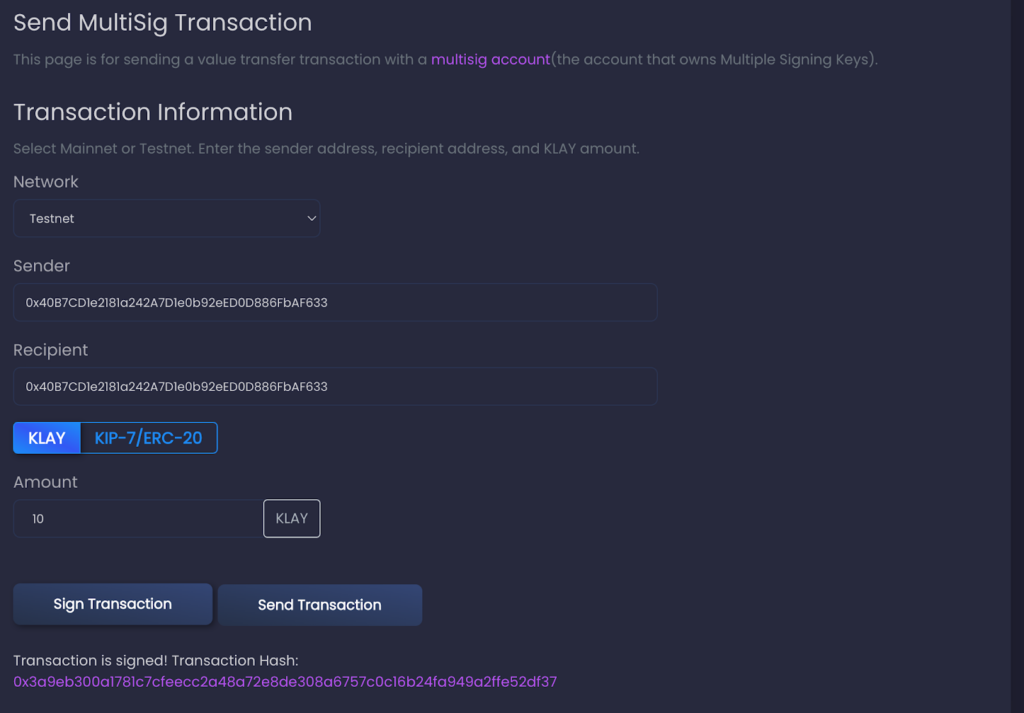
4. After the transaction has been signed, click “Send Transaction”. While the transaction is being processed, the “Sign Transaction” and “Send Transaction” will be deactivated. After it is processed, you will see the message Transaction is confirmed! along with the transaction hash. Clicking on the Hash will redirect you to see the transaction on KlaytnFinder. If the key’s weights are smaller than the threshold, the transaction is not valid and will send out the following message: Error: Returned error: invalid transaction v, r, s values of the Sender.
<Transaction completed >
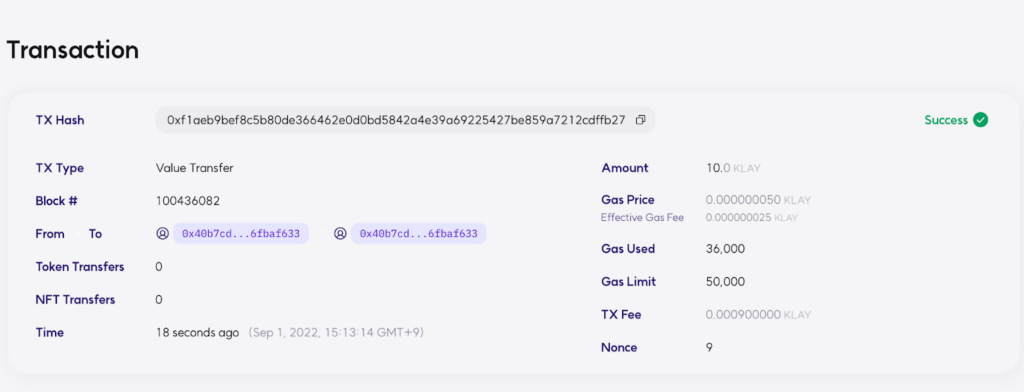
<Transaction page on KlaytnFinder>
In today’s article, we looked at how to use the multisig feature using Klaytn Online Toolkit. Stay tuned for the next article coming soon! If you have any questions on this article or anything regarding Klaytn, please leave them in Klaytn Developers Forum.
Reference
- Medium blog: [Caver] How to Update Klaytn Account Keys with Caver #2 — AccountKeyWeightedMultiSig
- Medium blog: Klaytn Improving Usability Series #2: Introducing Multisig on the Platform-Level
- Klaytn Account: https://docs.klaytn.foundation/klaytn/design/accounts
- Klaytn Keyring (caver-js): https://docs.klaytn.foundation/dapp/sdk/caver-js/api-references/caver.wallet/keyring
- Account Update Code Example: https://github.com/klaytn/caver-js-examples/blob/master/account/update_account_with_account_key_weighted_multisig/index.js